Different from the other SGBDs solutions, you can´t have a netezza instalation as easily as you can access the microsoft or Oracle site to download the latest database version. If you want to have a Netezza instalation you will have to spare a few hundreds of thousands dollars to acquire a server.
While you don´t have all that money, you can use a more affordable solution by emulating the enviroment. It´s obvious that you won´t have the same performance, but you have most of functionalities which you can understand how they work and how to prepare yourself to work with. Remember to never use it as a production solution. This is only for training purposes.
REQUIREMENTS
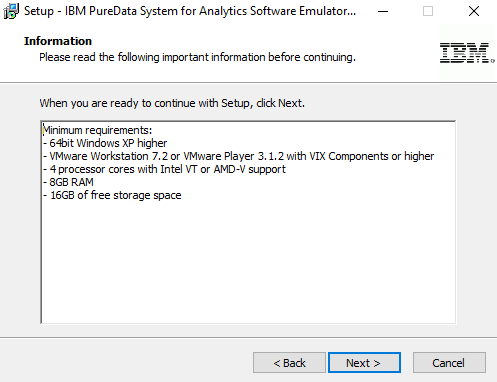
- 64bit Windows XP or higher :)
- WMware Workstation 7.2 or WMware Player 3.1.2 with VIX Components or     higher
- 4 Processor cores with Intel VT or AMD-V support
- 8GB RAM
- 16GB of free storage space
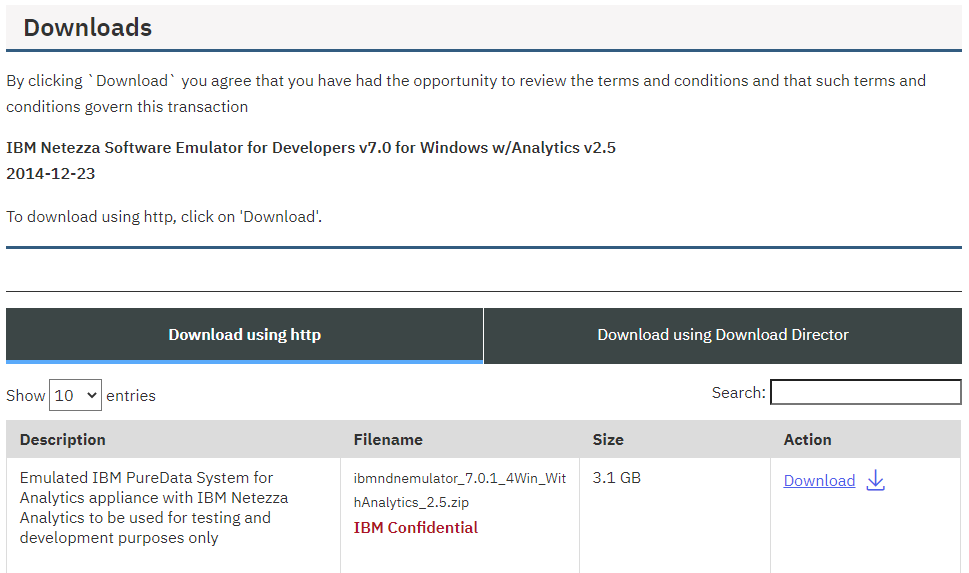
You have to search for the file ibmndnemulator_7.0.1_4Win_WithAnalytics_2.5.zip. I found it on IBM site on the following link:
https://www14.software.ibm.com/webapp/iwm/web/preLogin.do?source=swg-im-ibmndn
I hope at the time you are accessing this post the link still available, but you will have to create a login at IBM or just use it if you already have one.
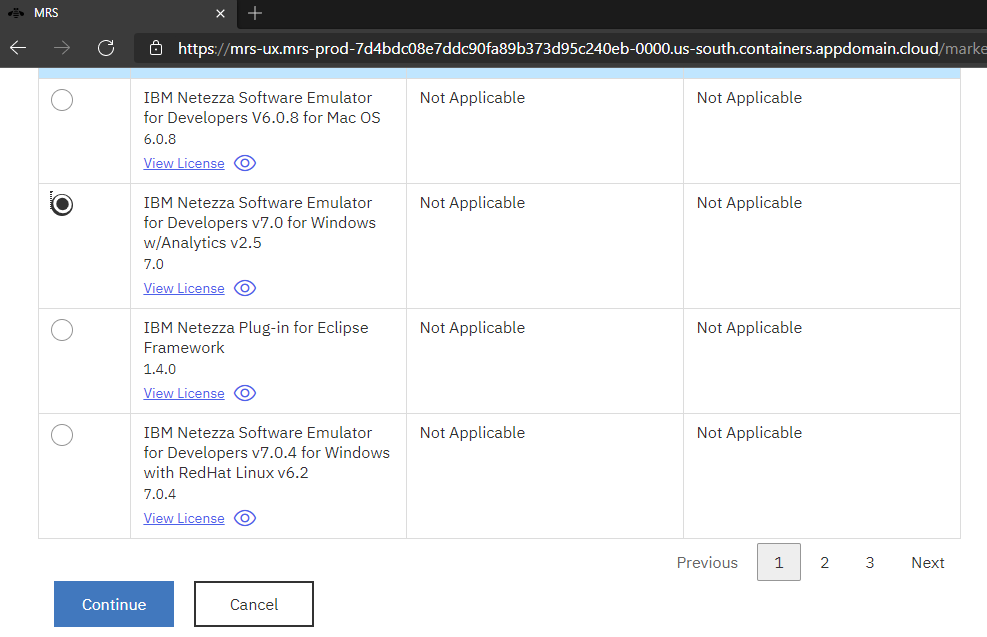
Select the check for IBM Netezza Software Emulator for Developers v7.0 for Windows w/Analytics v2.5 7.0 as shown in the picture below.
Next, you just need to click download
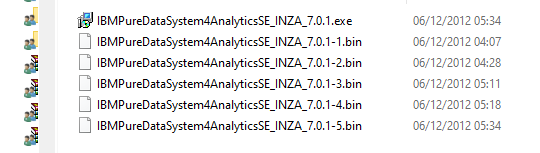
Now you have the installation on your computer. You just need to unzip it and start the installation.

Double click on IBMPureDataSystem4AnalyticsSE_INZA_7.0.1.exe to install
The installation will begin

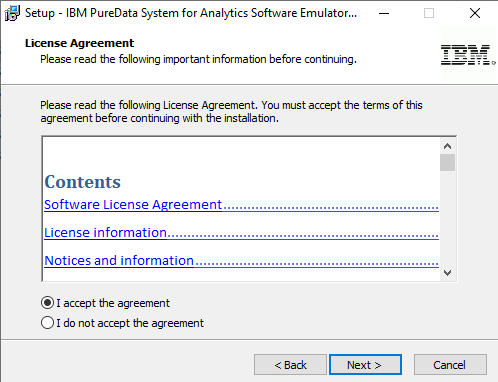
Accept the agreement and click next
Check the requirements for the installation and click next.
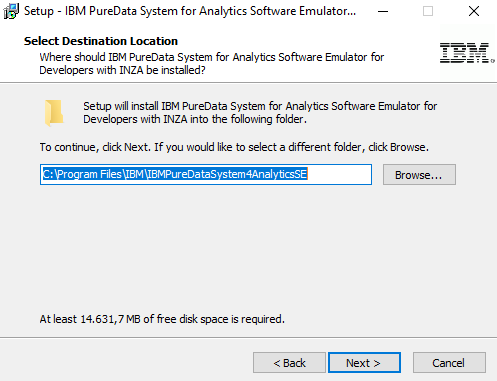
Choose an installation folder and click next.
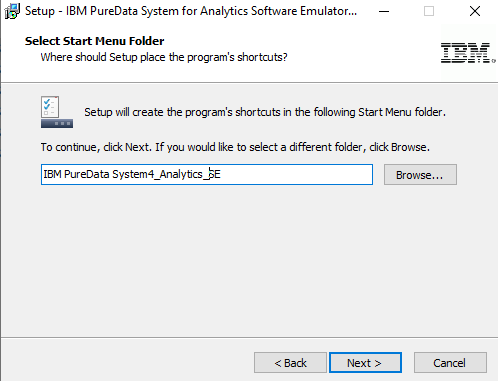
Choose the menu folder name and click next.
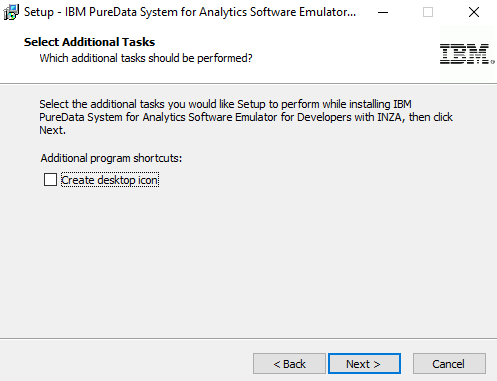
Next, basically…
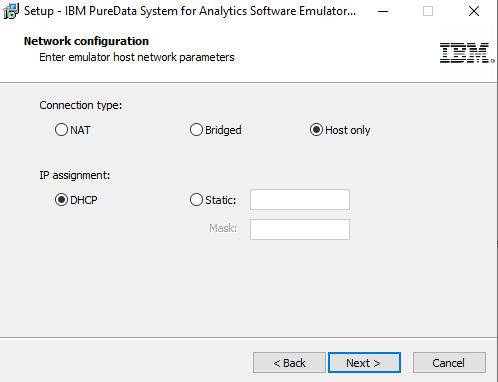
I choose the option “Host only” and DHCP and it worked. Click next.
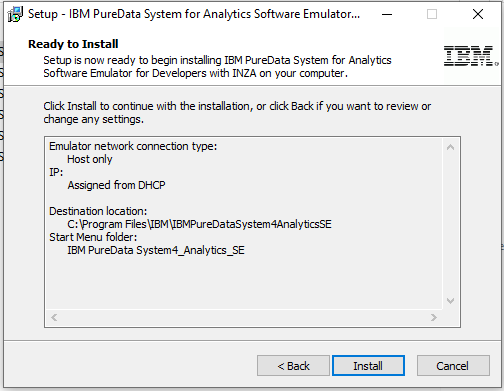
Now, with all the selection in place the program will be installed.
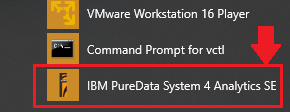
Wait for the end of the installation. After that, go to the start menu and execute the program
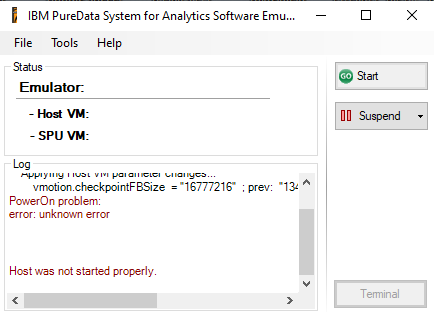
The following window will be open. When you click on “Start” the program is supposed to start the virtual machine HOST first and the SPU after.

This step did not work for me, the program was not able to start the machine due to errors related to VMware. I reinstalled the VMware but it didn´t work anyway.
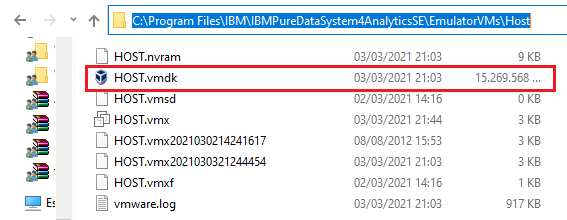
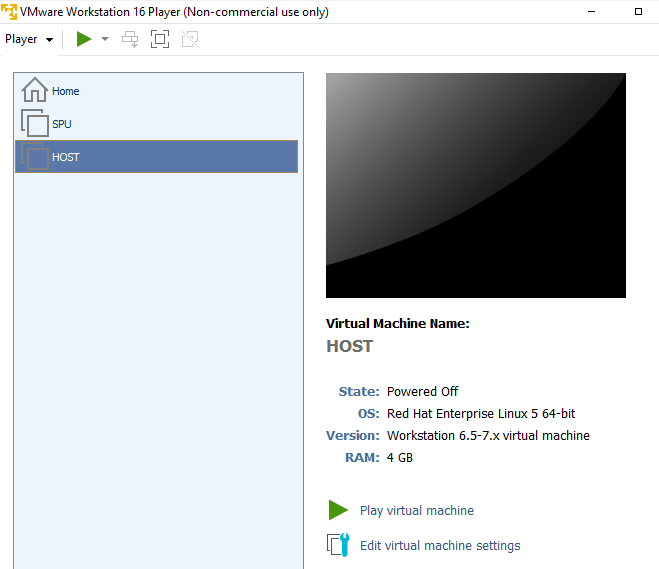
Since I know that what I need is to have the two virtual machines online, I decided to start the machines by myself. For that, I imported both machines on VMware and started it manually.
IMPORT HOST
IMPORT SPU

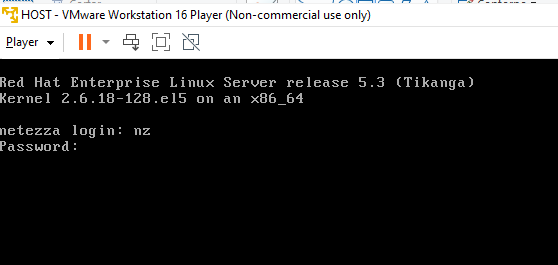
START HOST
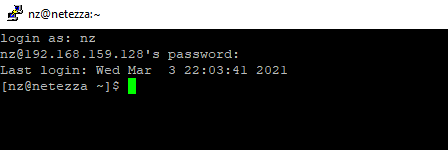
Log into the server as nz password: nz
Check

On the command line type nzstart just to confirm the netezza server is online. Probably you will receive a message saying it´s already online. To check the hardware state type nzhw. See in picture above that all disks have no status. That´s why we need to activate the SPU virtual machine.

Wait while the SPU machine starts
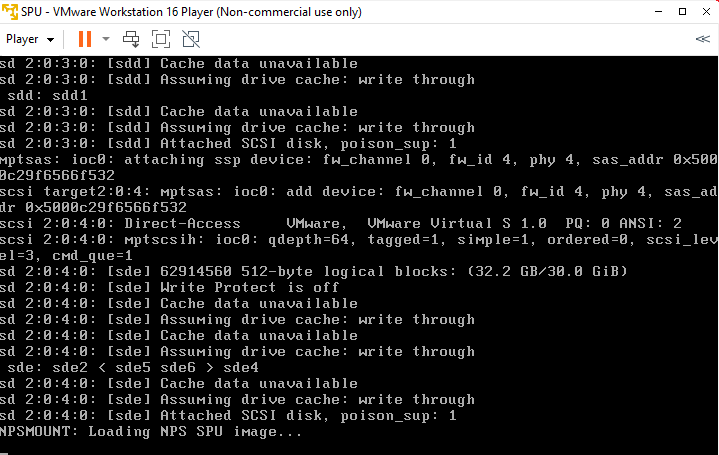
Go back to the HOST and type nzhw again.
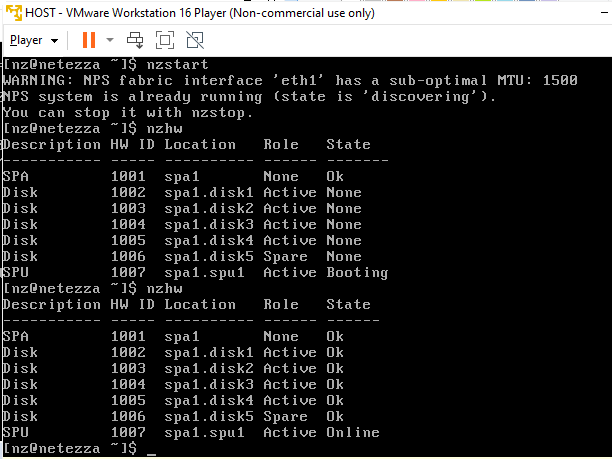
Now you have all disks with state OK. You are ready to go. Personally I prefer to work using the putty terminal, to do so, you will need the ip address to connect. type ifconfig to see the eth0 address.
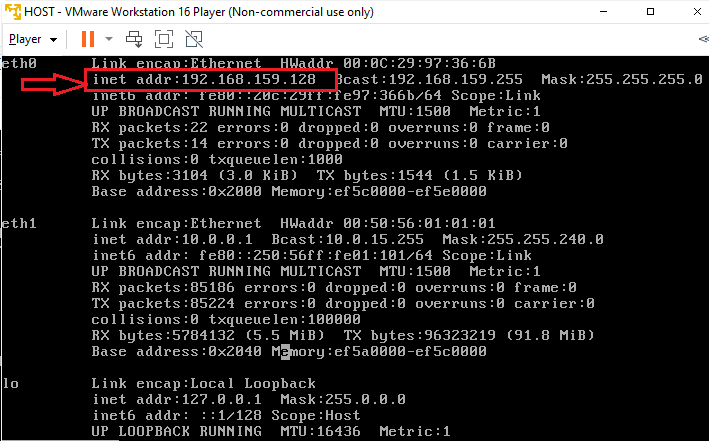
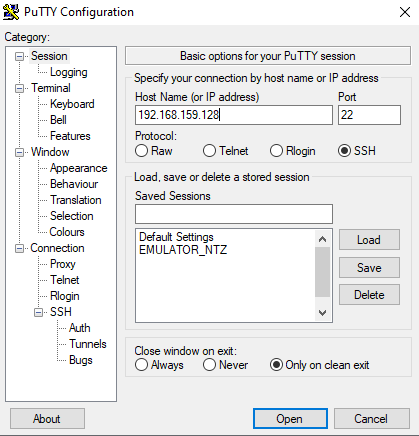
Now open the putty and provide this ip and log into the server
Now you have the environment to go ahead with your study.
to start with the database commands, type nzsql.

Perfect. Now you have an environment totally available to you.
I hope this step-by-step was helpful to you. In the next part we will see some basic nz scripts that will give you the information that you need about the server.
Thanks for you attention. See you soon.